The three steps are written out below.
Captions available — press CC · Also on YouTube
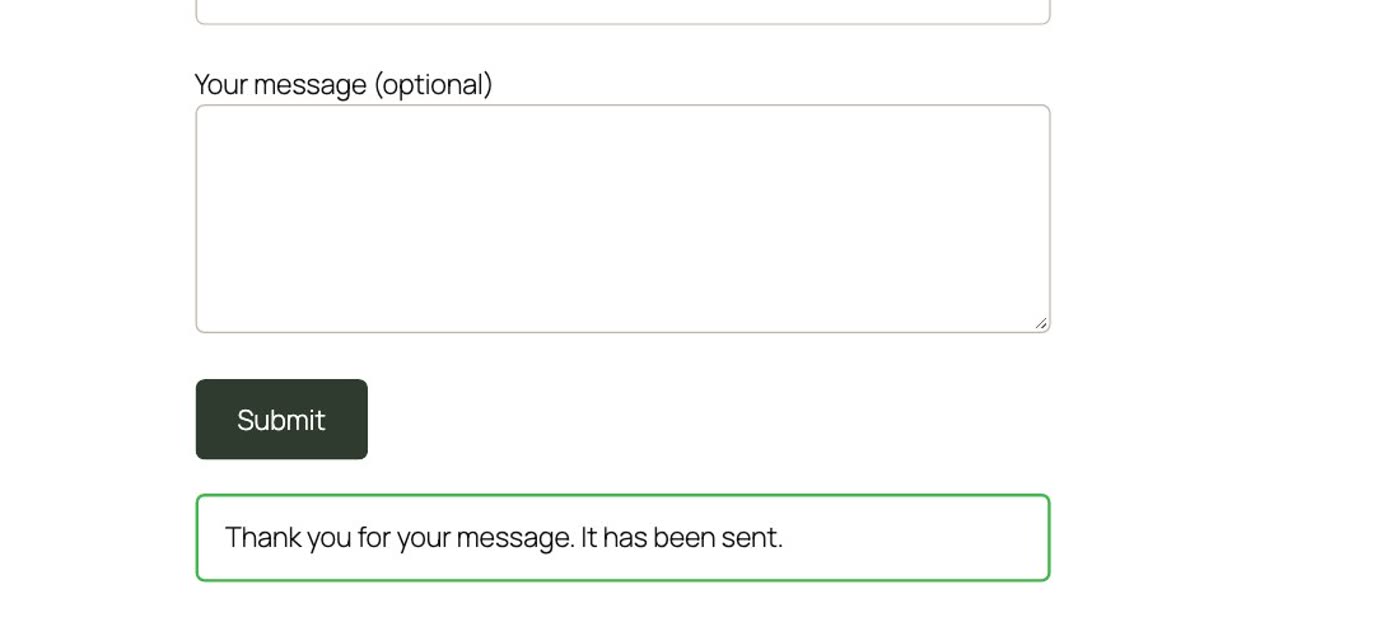
A customer fills in your contact form, presses Submit, and sees a green box: Thank you for your message. It has been sent. You never get it. Maybe you only find out weeks later, when someone rings to ask why you never replied. It is one of the most common questions on the WordPress support forums: the form says the message was sent successfully, and it never reaches the inbox.
The good news is that the form is almost never the problem, and the fix is something you can do yourself, without a developer. Everything below, and in the film above, was done on a real WordPress site.
What actually happened
When someone presses Submit, your form plugin hands the message to WordPress, and WordPress has to send it as an email. By default, WordPress sends email with PHP's own mail function, which passes it to the web server's mail program. There is no login to your email account behind it. As the makers of WP Mail SMTP put it, most hosting servers aren't properly set up for sending these emails, and the mail services on the receiving end check whether a sender is genuine: when the authentication isn't there, the email goes to spam, or disappears.
And the green box can't tell you any of that. WordPress's own documentation says it plainly: when its mail function returns "sent", that does not automatically mean the email was received. It only means it was handed on. That is why the form looks fine, and why nothing seems wrong until you notice the silence.
Step 1: check it's the sending, not the form
A few minutes of checks tell you where the problem is, so you don't spend an afternoon rebuilding a form that works.
- Look in your spam or junk folder. If the messages are there, the sending is working but isn't trusted. Steps 2 and 3 fix that too.
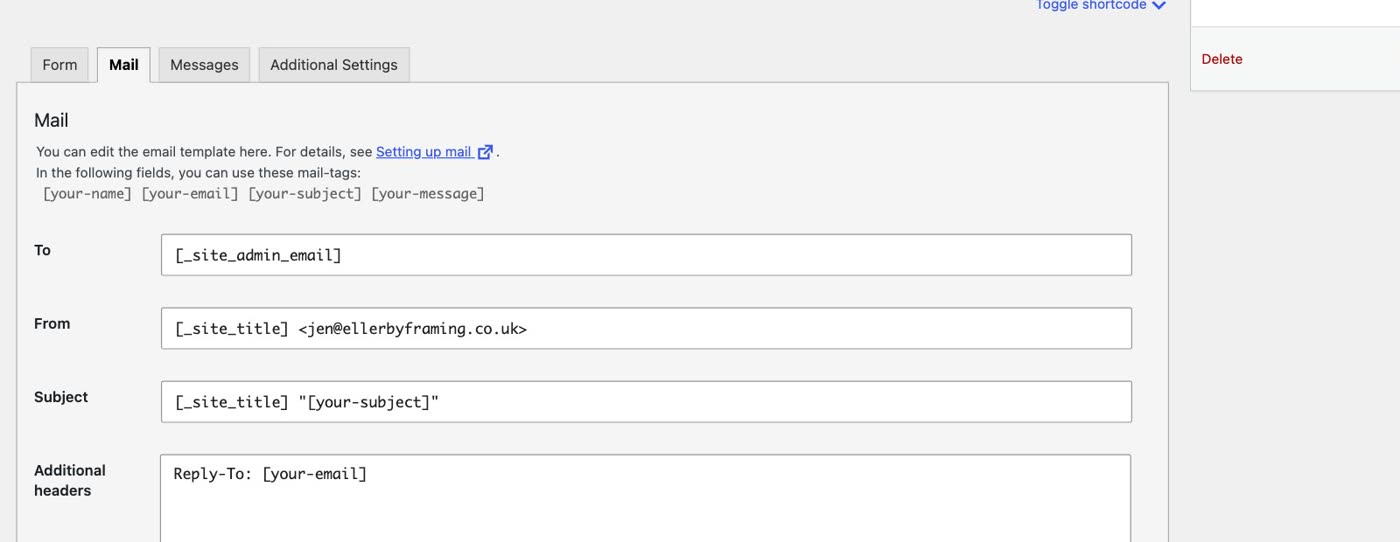
- Check where the form sends to. With Contact Form 7 (on more than ten million sites), go to Contact › Contact Forms, open your form and click the Mail tab. The To line is where messages go. Out of the box it is
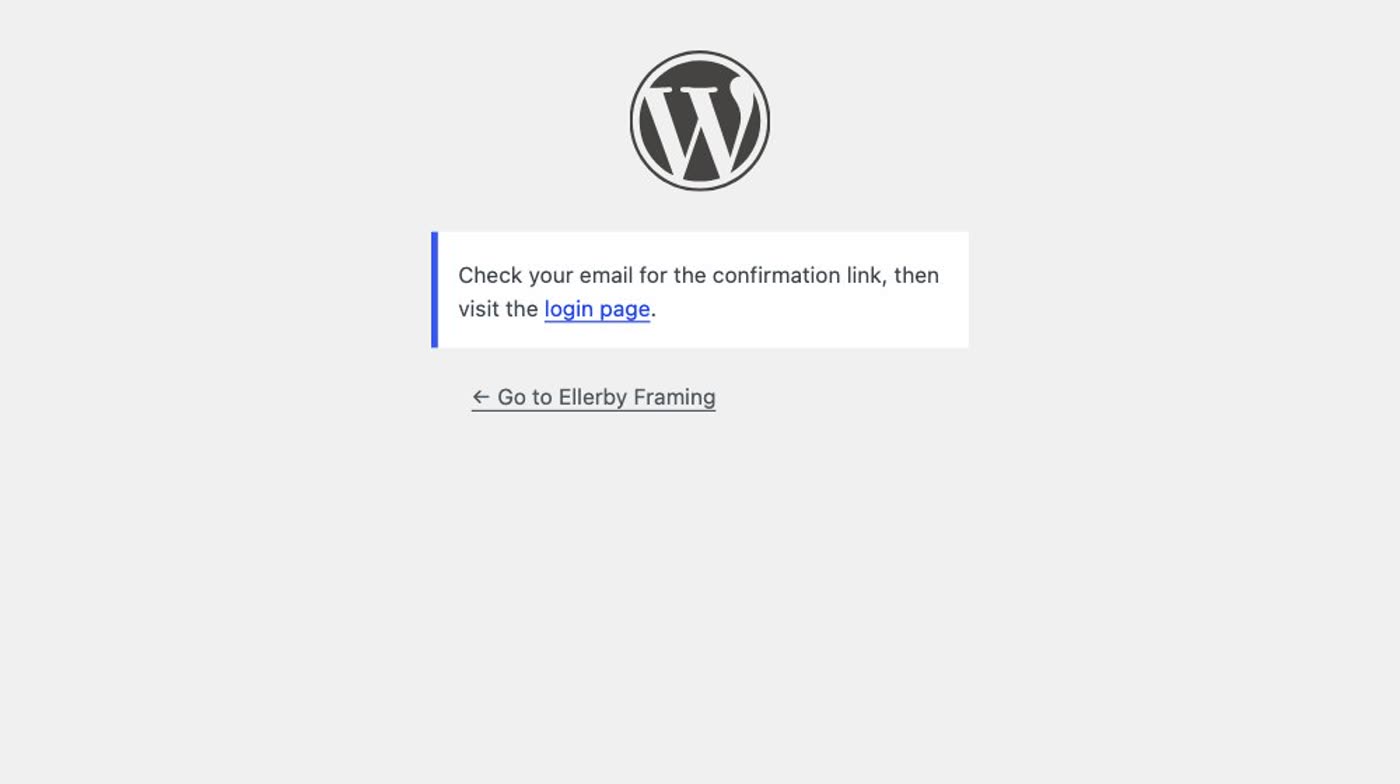
[_site_admin_email], the address under Settings › General. Make sure that is an inbox you actually read. Other form plugins have the same setting, usually called Notifications. - Send yourself an email that doesn't use the form. Log out, and on the login page click Lost your password?, then enter your email address. WordPress says Check your email for the confirmation link, then visit the login page.
- Wait a few minutes and look again. If that email doesn't arrive either, your form is fine: WordPress can't get any email to you. That is what steps 2 and 3 fix.
Step 2: send through SMTP
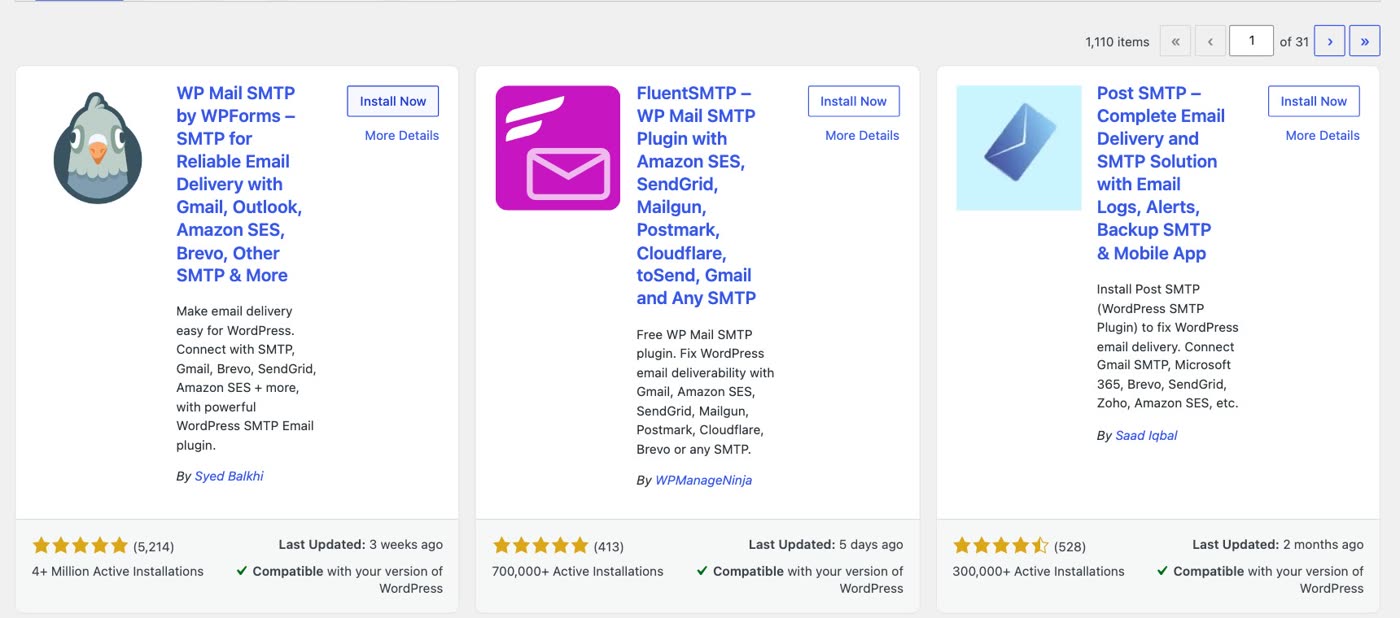
SMTP is how your own email program sends mail: it logs in to your email account first, so the receiving side can see the message really comes from you. An SMTP plugin makes WordPress do the same. We use WP Mail SMTP here because it is the most installed: WordPress's plugin directory shows it on more than four million sites, against 700,000 for the next SMTP plugin in the search, and it does everything below without an upgrade. Other SMTP plugins work the same way.
First, find your email account's SMTP details. Your email provider lists them in its help pages, under "SMTP" or "outgoing mail": a server name, a port, the type of encryption, your username (usually your full email address) and a password. Many providers ask for an app password here, one you create in your email account's security settings, rather than your usual one.
- Install the plugin. In WordPress, go to Plugins › Add Plugin, search for WP Mail SMTP, click Install Now, then Activate. If it opens its setup wizard, you can use that, or go back to the dashboard and follow these steps.
- Open WP Mail SMTP › Settings. Check the From Email is your own address at your own domain, the same account you'll log in with, and leave Force From Email on so every plugin sends from it.
- Under Mailer, choose Other SMTP. (If your email is with one of the providers shown, such as Google or Microsoft 365, you can pick that instead and follow its own guide.)
- Enter your provider's details. The SMTP host; encryption TLS with port
587, which most providers use (some use SSL with port 465); Authentication on; your email address as the username; and the password, or app password. - Click Save Settings.
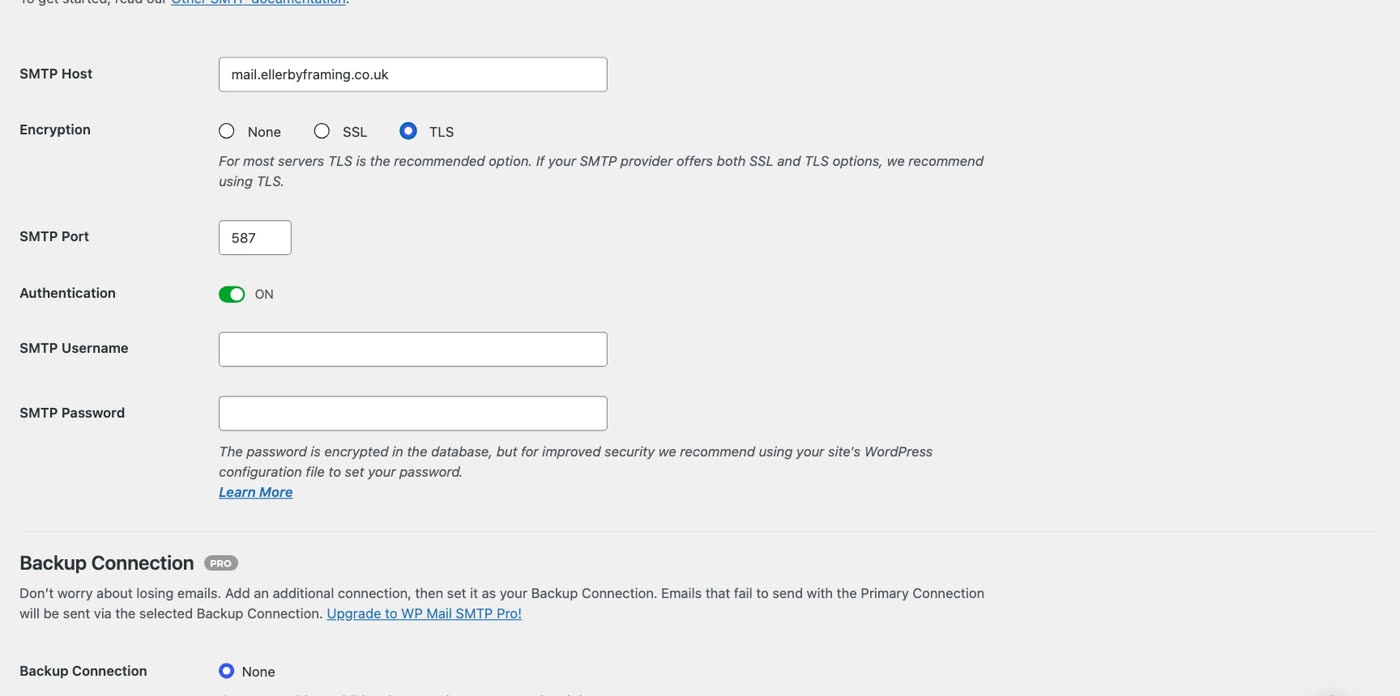
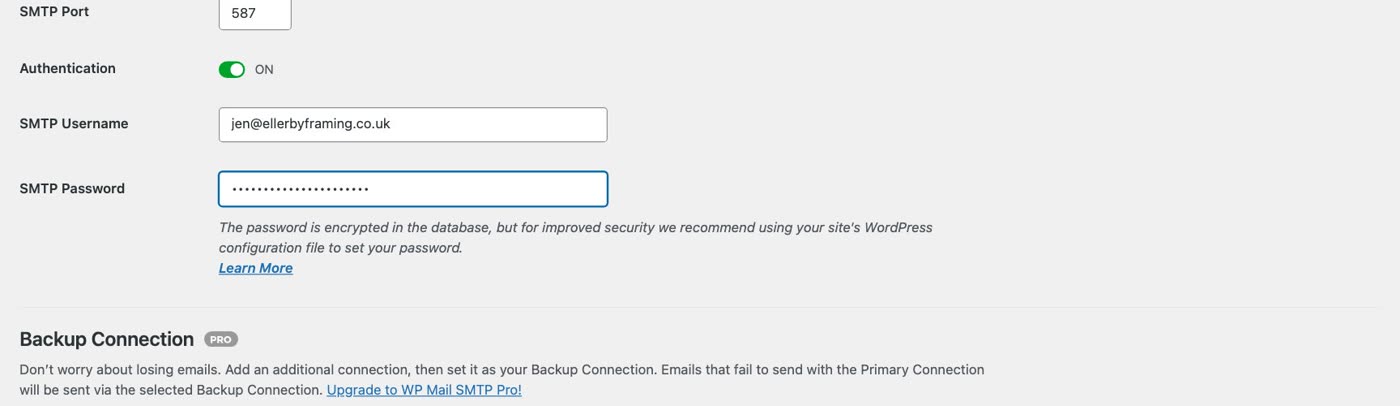
Now test it. Go to WP Mail SMTP › Tools › Email Test, leave your address in Send To, and click Send Email. Then fill in your own contact form once more. On our test site, both arrived within seconds, where before nothing had.
If the test fails with an error instead, WP Mail SMTP shows what went wrong. Check each detail against your email provider's SMTP page, and try an app password if your usual one is refused.
Step 3: let your domain vouch for your mail
If messages now arrive but land in spam, the last piece is your domain. Look under the Email Test result: WP Mail SMTP checks your domain and says what's missing. On our test site it said SPF: Action Needed.
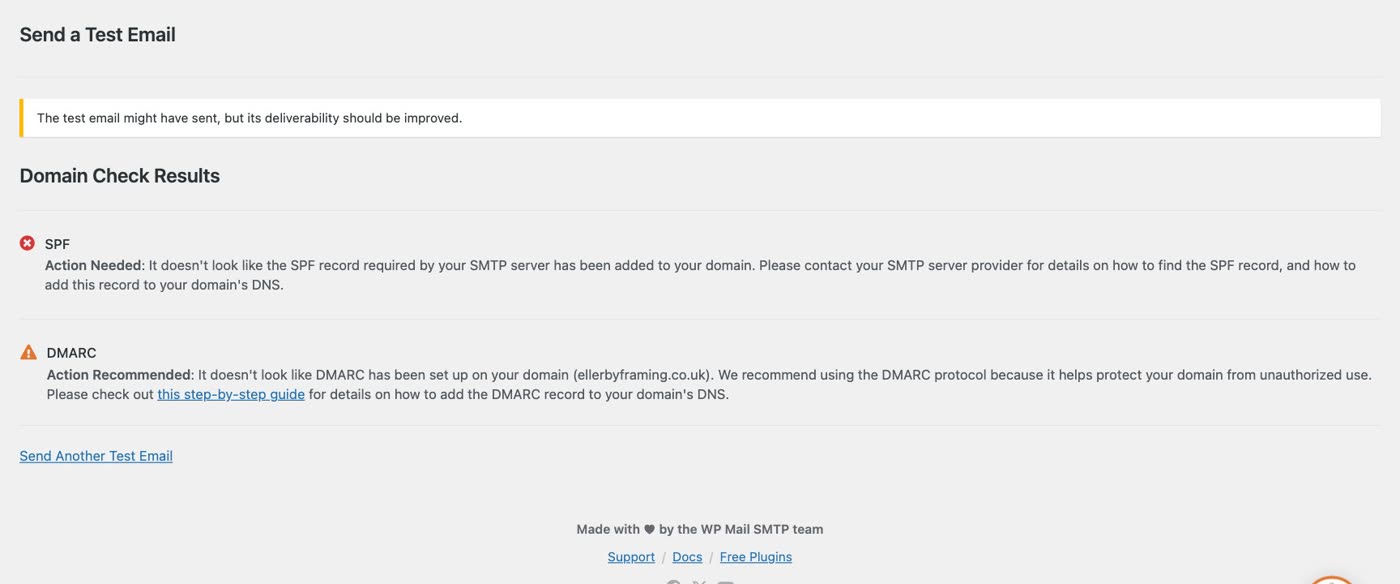
- Get the records from your email provider. SPF is one line of text in your domain's settings that lists the servers allowed to send email for your domain. DKIM adds a signature the receiving side can check. Your email provider's help pages give you the exact lines to add. Don't copy one from somewhere else: it has to name your provider.
- Add them where your domain's DNS is managed. That's usually your host, or the company you bought the domain from. Look for DNS settings, and add each one as a TXT record. If your domain already has an SPF line, add your provider to that line rather than making a second one: Google's own examples put several senders in one.
- Send the Email Test again later. Google says it can take up to 48 hours for SPF to start working.
This isn't optional any more. Google's own guidelines ask everyone who sends email to Gmail addresses to set up SPF or DKIM for their domain, and say messages without either may be marked as spam or rejected.
So you never lose a message again
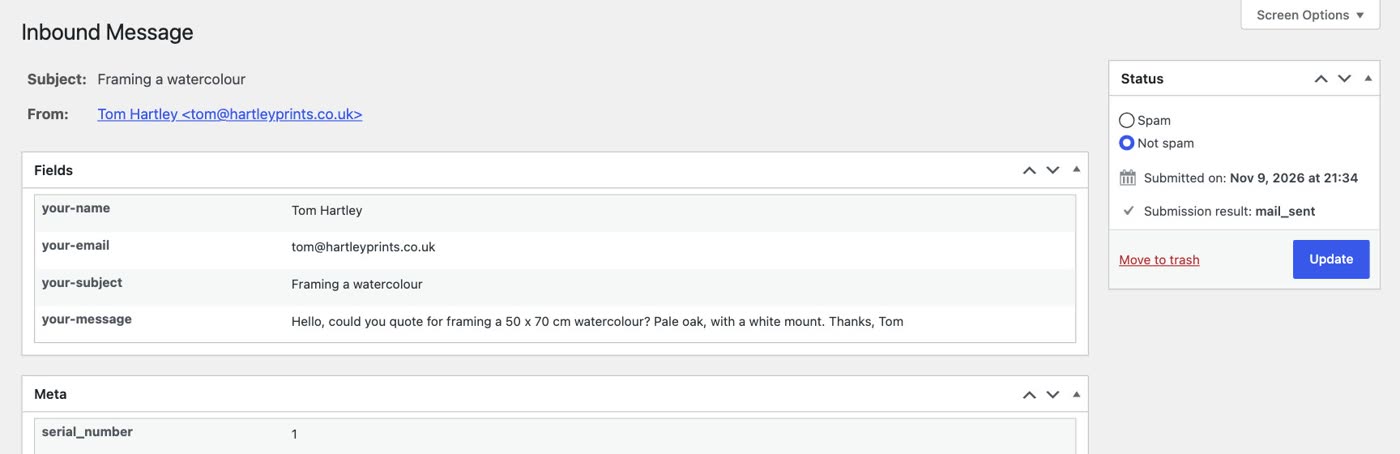
- Keep a copy of every message in WordPress. Contact Form 7 doesn't store what people send. Its makers, Rock Lobster Inc., also make Flamingo, which does: every submission is saved under Flamingo › Inbound Messages, whether the email arrives or not. Other form plugins call this "entries".
- Send your form a test after every change to your site, your hosting or your email account, and once a month anyway. A form that quietly stops working looks exactly like a quiet month.
- Keep your SMTP password in mind. If you change your email password, or the app password is removed, the sending stops again until you update it in WP Mail SMTP.
- Step 1: check spam, check the form's To address, then send a "Lost your password" email. If that doesn't arrive either, it's the sending, not the form.
- Step 2: install WP Mail SMTP, choose Other SMTP (or your provider), enter your email provider's SMTP details (TLS, port 587, your address and an app password), save, and send the Email Test.
- Step 3: if mail still lands in spam, add the SPF and DKIM records your email provider gives you in your domain's DNS settings.
- Then: install Flamingo so every message is kept in WordPress, and test your form after every change.
Or, there is another way
All three steps above are about getting WordPress to send email it was never set up to send well, and keeping it that way: a plugin, a password that must stay current, records in your DNS.
Ullbek is an AI website builder. You give it your WordPress site's address, and it builds a new, custom website from your pages and photos. It connects your contact form to your inbox and sends a test message to make sure it arrives. There's no mail plugin to set up. When something needs to change, you say what should be different, and it's done.

- Give it your old site's address. "Rebuild [your address] as a new site. It's my current WordPress website. Keep every page and bring across the photos." It reads every page and downloads your pictures.
- Answer one round of questions. It asks about anything it can't tell from the old site, such as placeholder text or old facts.
- Look it over, publish, then move your domain. Your WordPress site stays up until the new one is live. The move guide walks through every step.
A contact form that just arrives
See how moving a WordPress site to Ullbek works, step by step.