The four steps are written out below.
Captions available · press CC · Also on YouTube
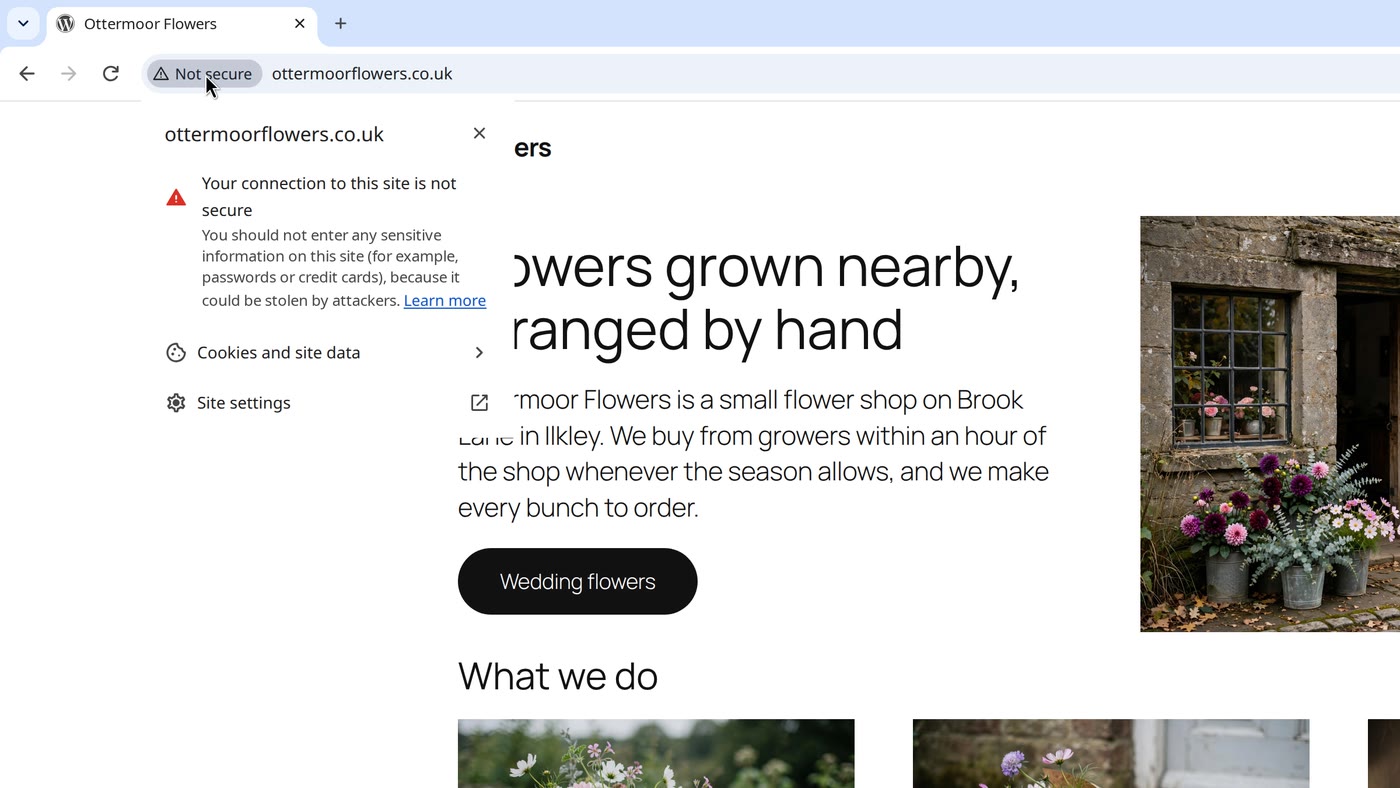
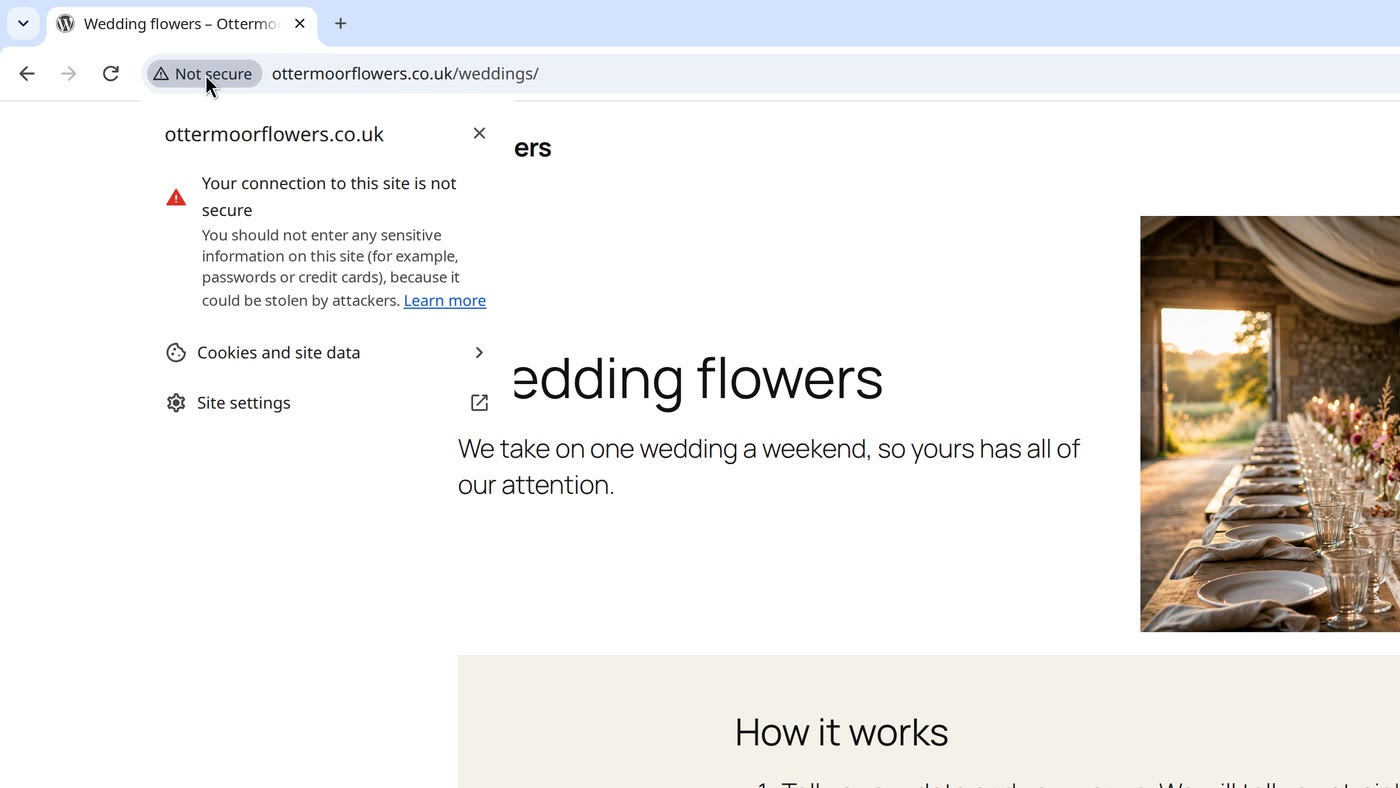
You type your own address and there it is, at the left of the address bar: Not secure. Anyone who clicks it reads Your connection to this site is not secure, and a warning not to enter passwords or card details.
Your site is still there, and nothing is broken in it. What is missing is the secure connection, and the fix is in four steps. Everything below, and in the film above, was done on our own test website, a WordPress site for a flower shop, in a real browser window: we took the secure connection away and put it back.
Why it happens
Not secure means the page reached the visitor over plain http, without a secure connection. The browser's own help page puts it this way: the site "doesn't use a private connection", and "to resolve this issue, the site owner must secure the site and your data with HTTPS."
For your visitors to arrive on a secure, https connection, two things have to be in place:
- A security certificate for your address, at your host. Without one, the browser can't open your site securely.
- Your site, set to use it. Your site's own address setting has to start with
https, and anyone who arrives at the oldhttpaddress should be sent on to the secure one.
Our test site runs on WordPress, so the screens below are WordPress's. On any platform it is the same two things: a certificate, and the site told to use it.
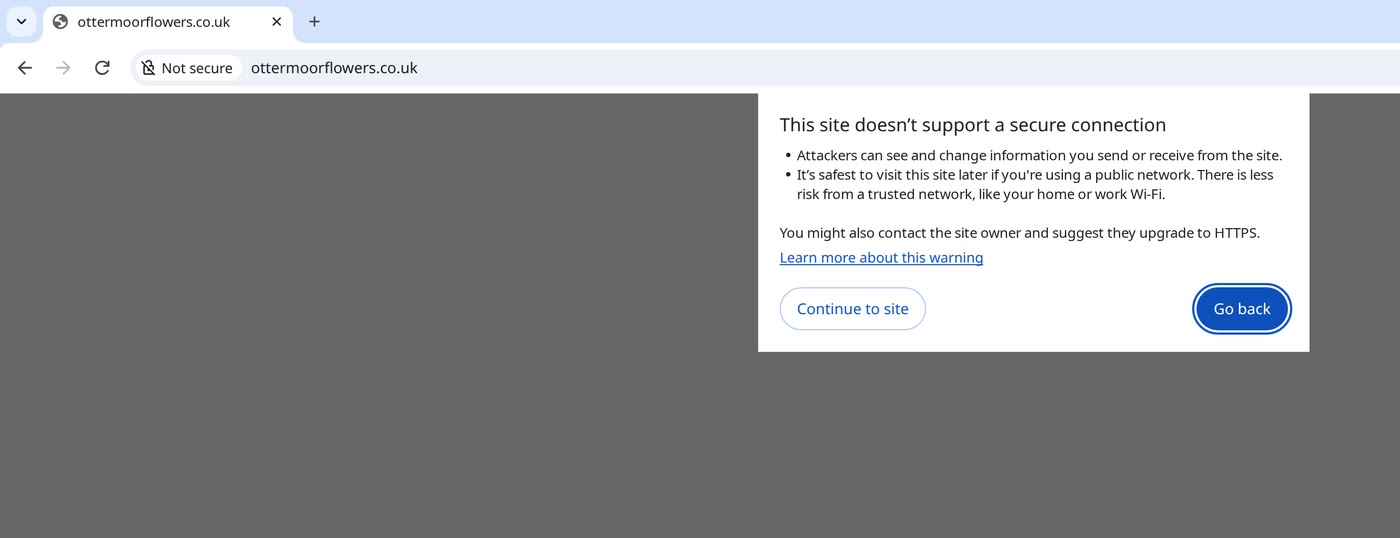
Some of your visitors get a full page first, if a browser setting called Always use secure connections is on: This site doesn't support a secure connection. One browser maker has announced that it is making that setting the default, so that the browser asks before it opens any public site without https. It was off in our test browser, so we switched it on to show you this page.
First: find out what's missing
You only need your browser.
- Type your address with
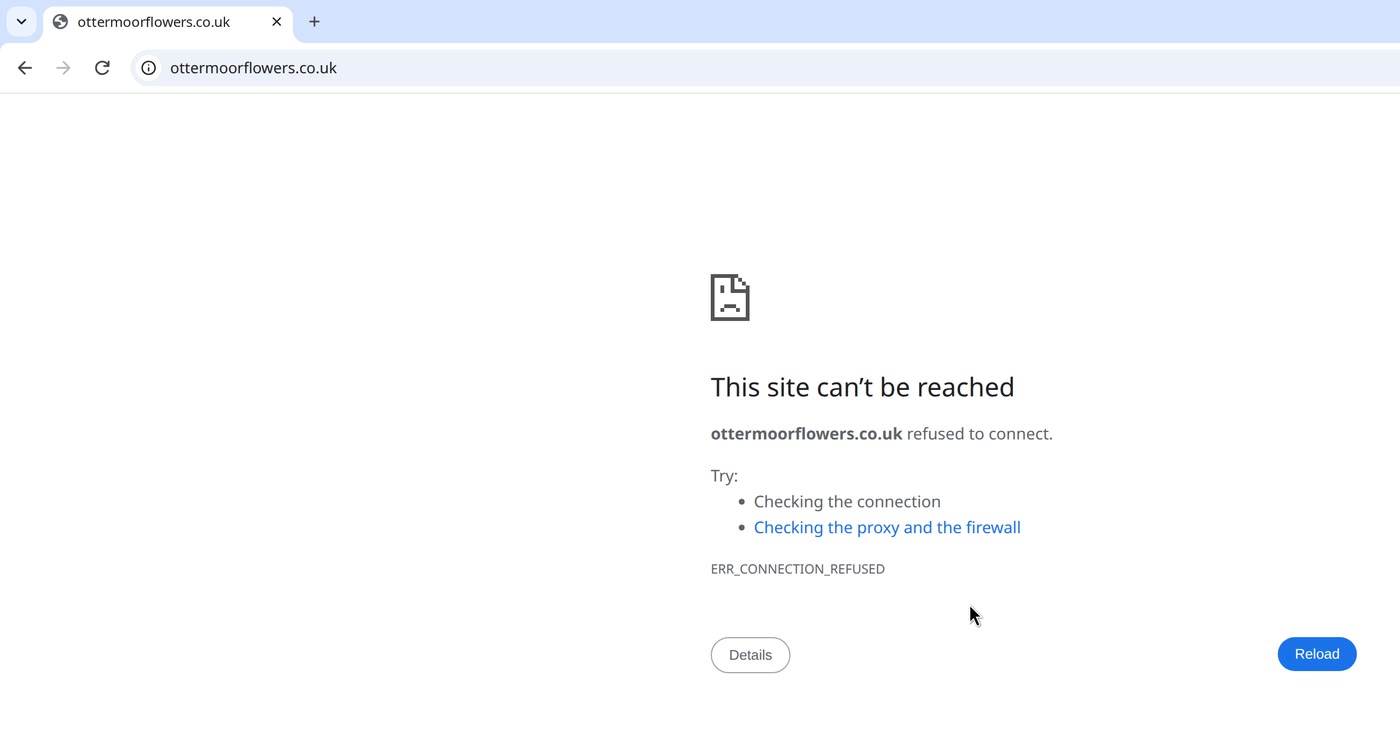
https://in front (for examplehttps://ottermoorflowers.co.uk) and press Enter. - On our test site, with no certificate, the browser said This site can't be reached and refused to connect. If yours says that, start at step 1.
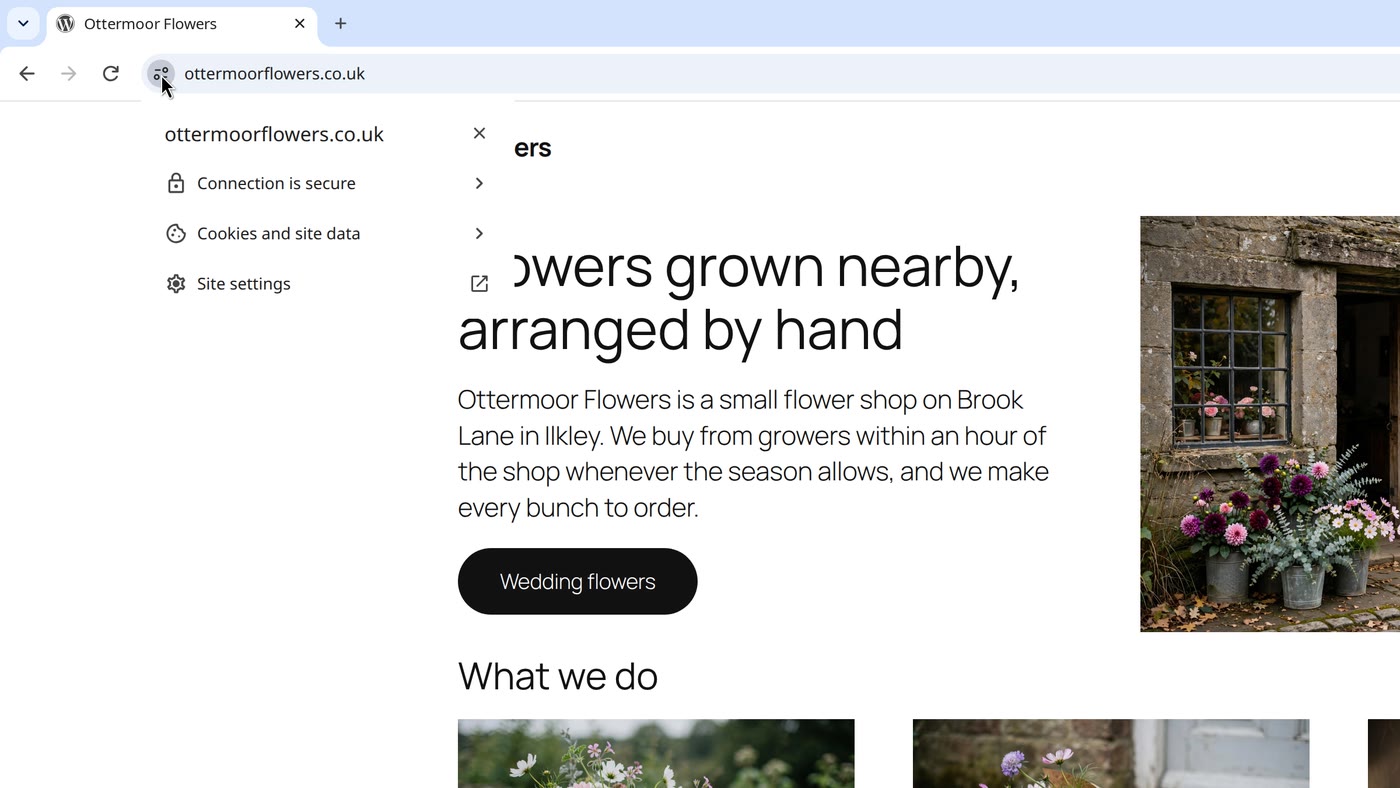
- If it opens, and clicking the icon at the left of the address says Connection is secure, the certificate is already there. Go to step 2.
If you get a warning page instead, or Not secure in red with https crossed out, something is wrong with the certificate. On our test site, the red one is what we saw after clicking past a certificate warning. Another film in this series covers it.
Step 1: the certificate, at your host
Many hosts get and manage a certificate for you. A certificate authority's own guide puts it this way: it "will either happen automatically or there will be a configuration option that you will need to enable." The screens differ from host to host, so the film shows a drawn panel.
- In your hosting account, look for SSL, or security certificate.
- Turn it on for your address and its www version (here
ottermoorflowers.co.ukandwww.ottermoorflowers.co.uk), and save. - Type your address with
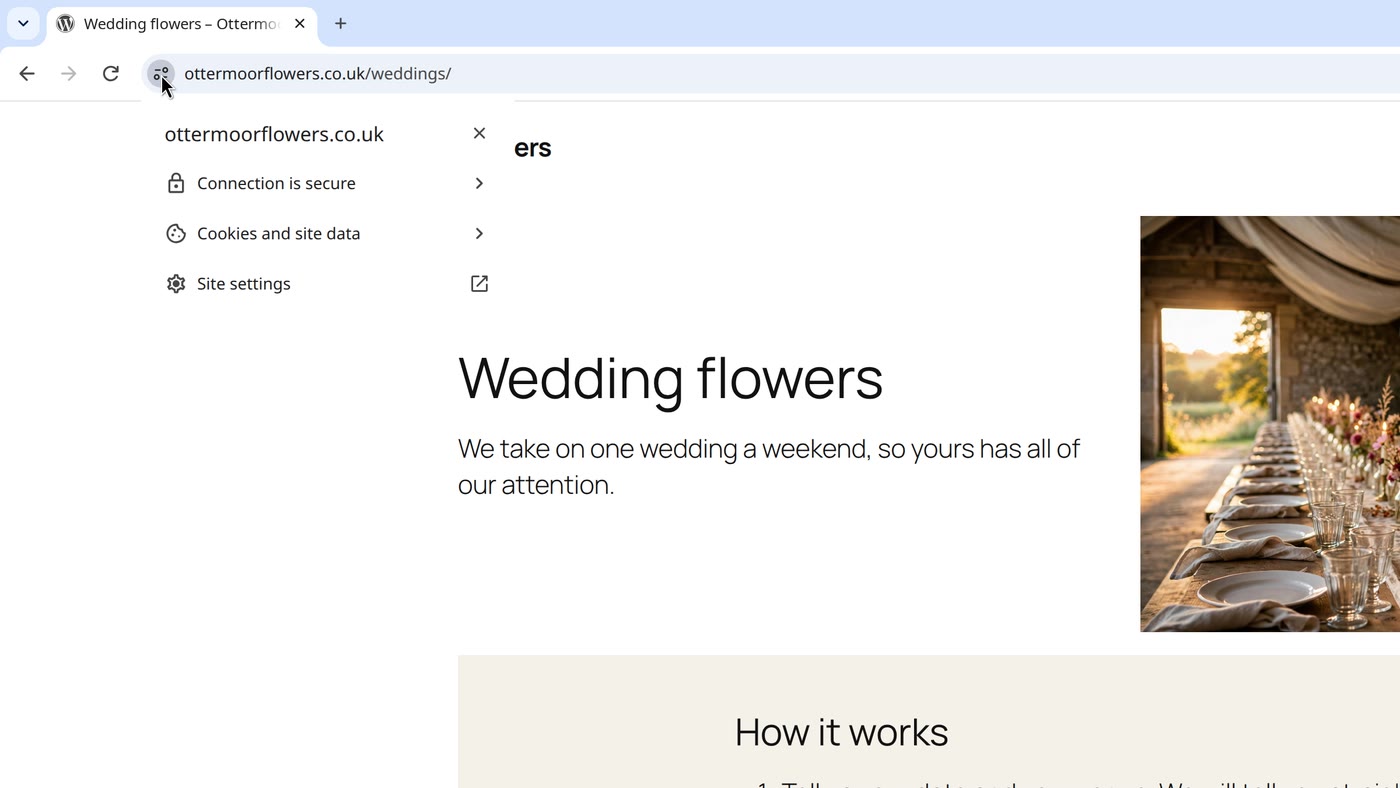
https://in front again. It should now open, and the icon's panel should say Connection is secure.
Step 2: set your site's address to https
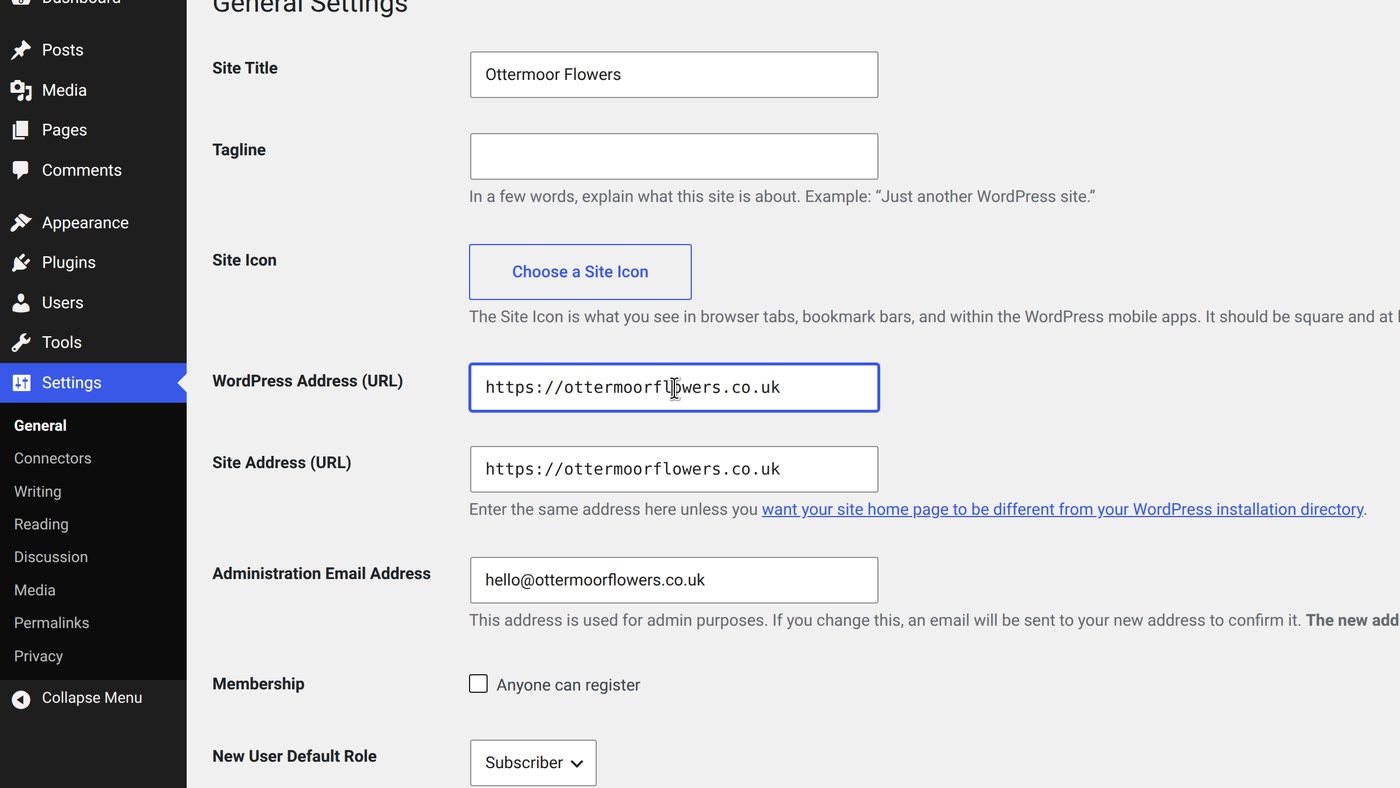
Your site still gives out its old address. In WordPress the two addresses are in Settings › General: WordPress Address (URL) and Site Address (URL). Ours both started with http://.
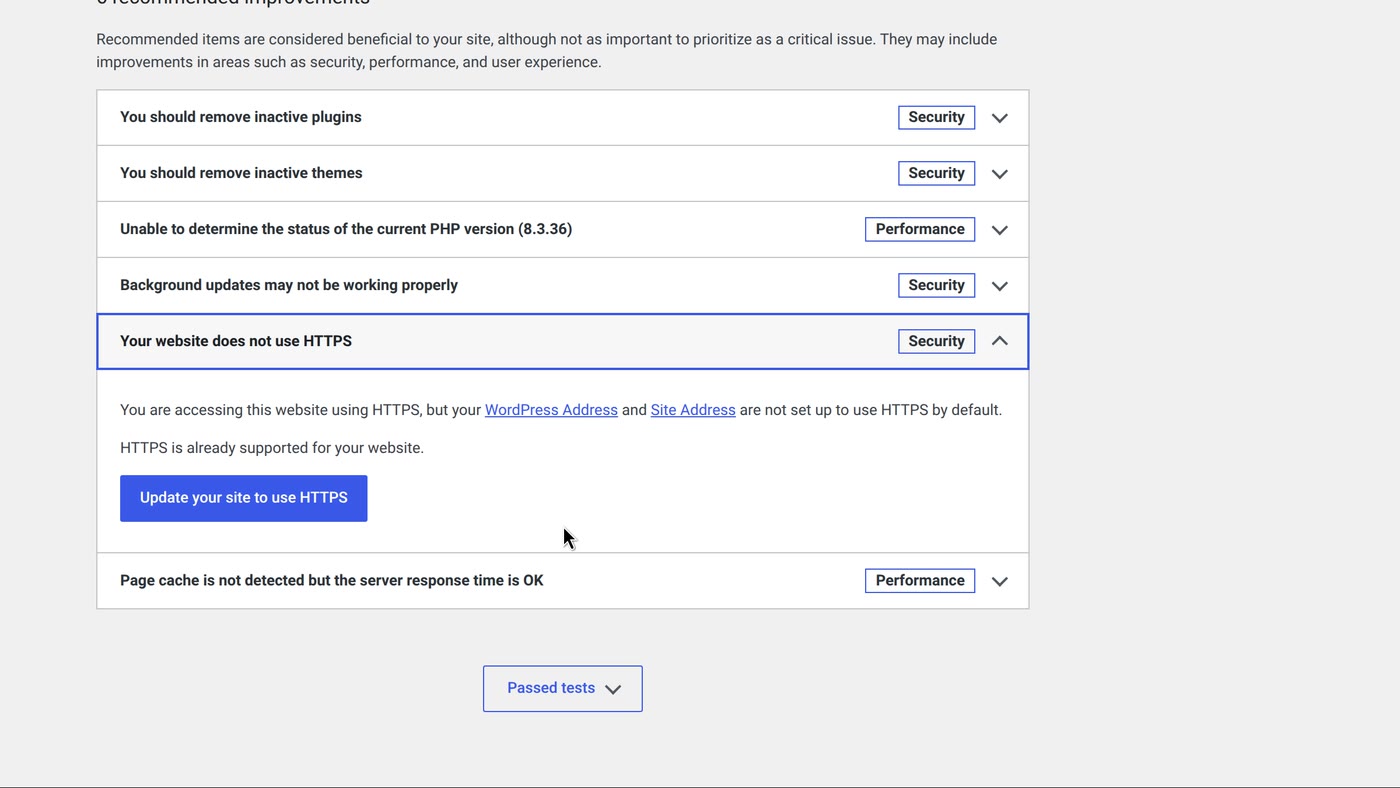
- Go to Tools › Site Health and open Your website does not use HTTPS. With a certificate in place it says HTTPS is already supported for your website.
- Click Update your site to use HTTPS. WordPress changes both addresses and asks you to log in again.
- Check Settings › General. Both addresses now start with
https://.
Step 3: send visitors from the old address to the secure one
Old links to your pages still use http: in search results, in emails, in posts you have shared. On our test site, after step 2, WordPress sent visitors on from the home page, but an old link to an inner page, http://ottermoorflowers.co.uk/weddings/, still opened on http and said Not secure. We tested this on WordPress 7.1.4; the about page and the blog post behaved the same way.
- Turn on your host's setting that sends
httptohttps. Look for it in your hosting account. - Open the same old
httplink again. It should land on thehttpsaddress of the same page.
Step 4: check it, the way a visitor would
- Type your address plain, without
httporhttps. It should open onhttps, and the icon's panel should say Connection is secure. - Try an old
http://address of one of your pages. It should land on the secure one.
- Find out what's missing: type
https://before your address. On our test site, with no certificate, it could not connect: if yours says that, start at step 1. Opens securely: start at step 2. A warning page, or Not secure in red: the certificate itself is wrong (another film in this series). - Step 1: turn the certificate on at your host, for your address and its www version.
- Step 2: set your site's address to
https(WordPress: Tools › Site Health › Update your site to use HTTPS, then check Settings › General). - Step 3: turn on your host's setting that sends
httptohttps. - Step 4: check as a visitor: the plain address, and an old
httpone.
Or, there is another way
Ullbek is an AI website builder. You hand it your site's words and your own photos, and it builds a new, custom website with a new look. When we tried it with the words and photos of the Ottermoor Flowers site from this post, every page was kept, with all of the wording word for word. It asked one question, about the colours, and took about a quarter of an hour.
Every Ullbek site is served over a secure connection, and anyone who types the plain http address is sent to the secure one. On a domain you bring, the certificate renews by itself, as long as the records you added stay in place.
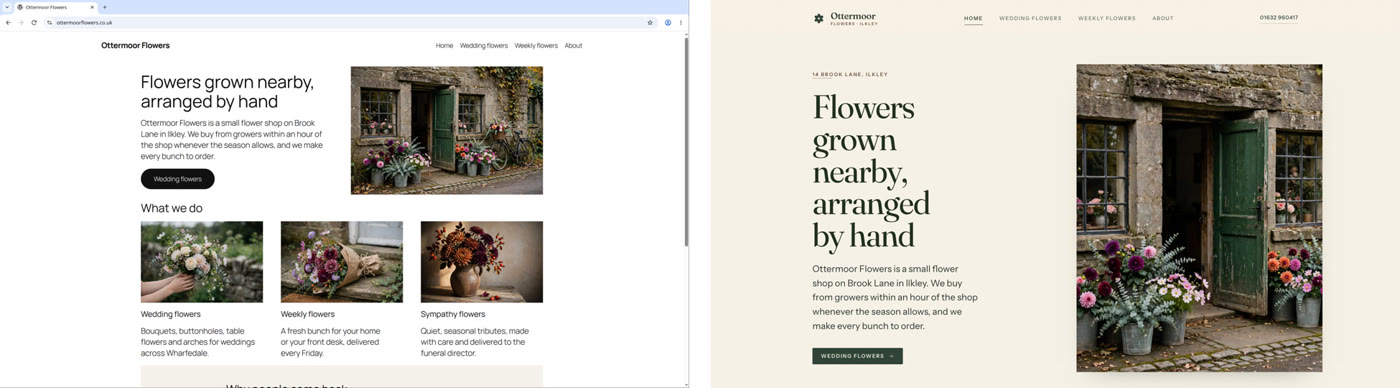
A real, custom website, on a secure connection
See how Ullbek builds a website from what you tell it.